Chapter 2 — Your First Smart Device: Plugs, Home Assistant, and Local Control
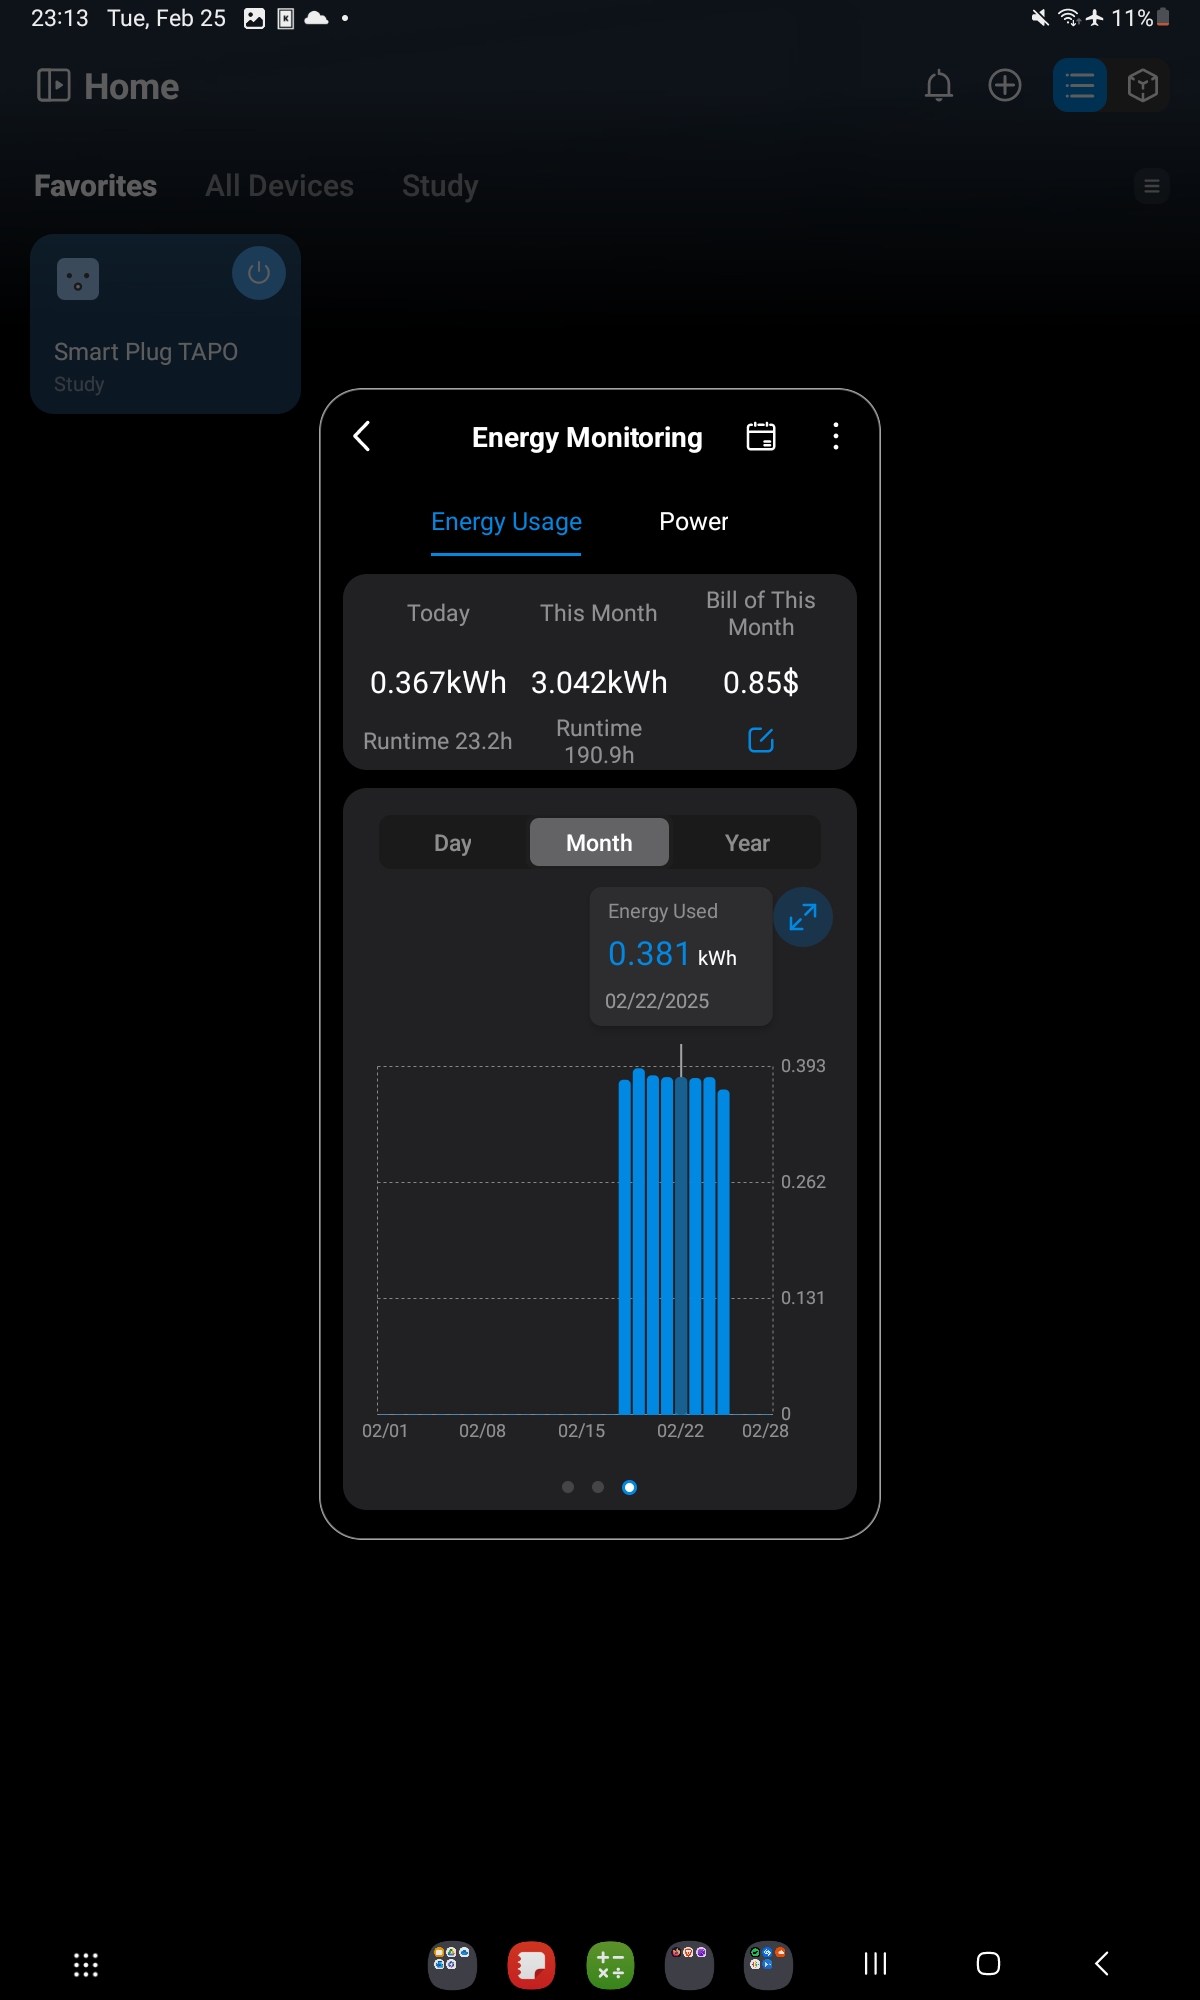
The Tapo P110 is a smart plug. It monitors power consumption, switches on and off remotely, and integrates with Home Assistant. It cost less than €15.
It was the entry point to understanding what “local control” actually means — and why it matters.
The Cloud Trap
Most consumer smart home devices work like this: you press a button in an app, the command travels to a server in a data center somewhere, the server sends a command to your device over the internet, the device responds, and the status update travels back through the same path.
This works fine until the company shuts down the server, changes the API, or gets acquired. At that point, your hardware becomes useless.
Local control means the command never leaves your network. Your Home Assistant instance talks directly to the device over your LAN. No internet required. No dependency on a third party’s uptime. No data leaving your home.
flowchart LR
    subgraph Bad["☁️ Cloud-Dependent"]
        D1[Smart Device] -->|WiFi| Cloud[Vendor Server]
        Cloud -->|Internet| App[Your App]
        App -->|Internet| Cloud
        Cloud -->|WiFi| D1
    end
    subgraph Good["🏠 Local Control"]
        D2[Smart Device] <-->|LAN only| HA[Home Assistant]
    end
    style Bad fill:#fff0f0,stroke:#cc0000
    style Good fill:#f0fff0,stroke:#007700
The Tapo P110 supports local control via its Python library (PyP100). Once you have Home Assistant running, the Tapo integration polls the device directly. The result: near-instant response, works during internet outages, and your power consumption data stays on your server.
Home Assistant: The Hub
Home Assistant (HA) is an open-source home automation platform that runs on a Raspberry Pi (or in Docker, or on a dedicated device). It integrates with over 3,000 devices and services. The key concepts:
- Entities: anything that has a state — a switch, a sensor reading, a light brightness level
- Automations: rules that trigger actions based on entity state changes (“when temperature sensor > 28°C, turn on fan switch”)
- Dashboards: configurable views of your entities
- Integrations: the connectors between HA and specific devices or services
Setting up HA takes about 30 minutes for the base install. The rest of the time is spent discovering what’s already on your network (surprisingly satisfying) and building automations.
The First Automation Worth Building
The most immediately useful automation is not the most technically impressive one. It’s the one that makes something annoying stop being annoying.
A real example: a server rack draws 180W at idle. Overnight, that’s wasted electricity. An automation that turns the rack off at midnight and on at 6 AM, triggered by the Tapo P110, saves approximately €15/month at European electricity prices.
The power monitoring data from the P110 also gives you a baseline for understanding what each device in your home actually consumes — which tends to be surprising in both directions.

Takeaway: Local control means the command never leaves your network. Home Assistant is the hub. Start with a smart plug that monitors power consumption — the data alone justifies the purchase.