Chapter 1 — Why a Raspberry Pi (and Which One)
The Raspberry Pi is not the cheapest option, not the fastest option, and not the most power-efficient option. It is, however, the option with the largest community, the most complete documentation, and the highest probability that someone has already solved the exact problem you are about to spend a weekend on.
That’s worth something. Especially at the start.
The Honest Comparison
When choosing a small-board computer (SBC) for IoT work, the decision usually comes down to three factors: performance, price, and ecosystem.
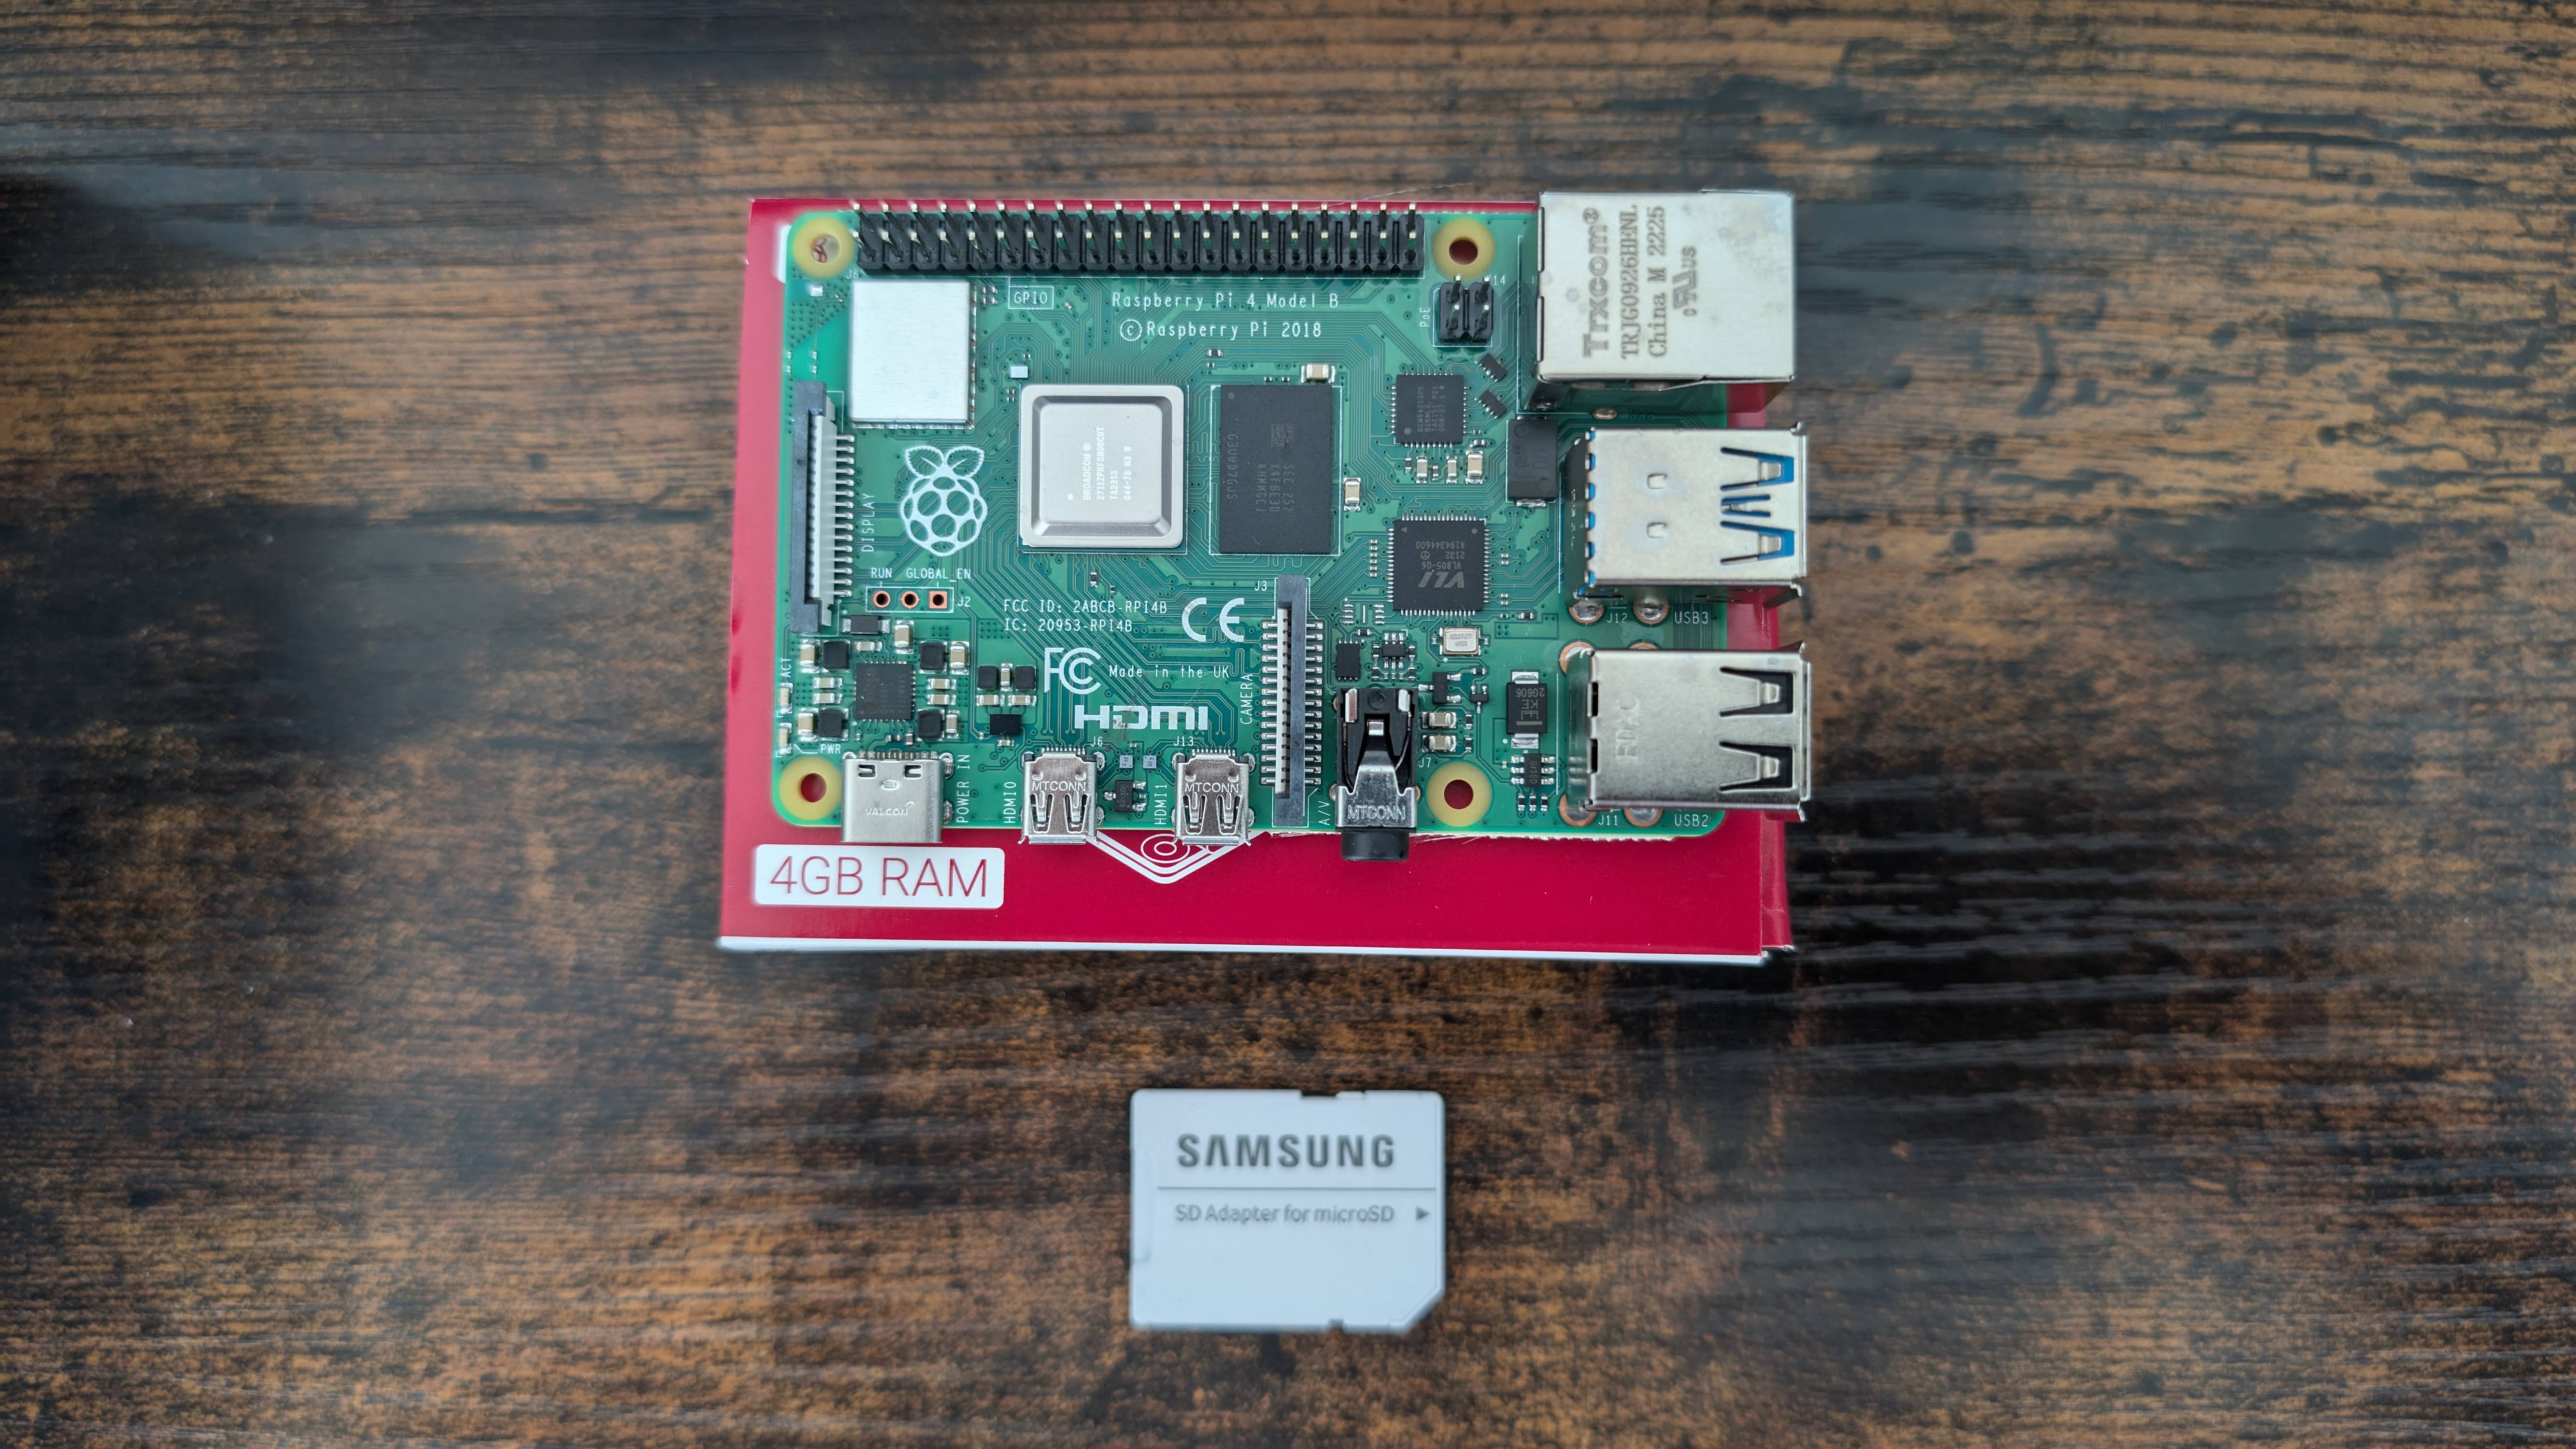
Raspberry Pi 4 (or 5) is the workhorse. 4GB or 8GB RAM, runs a full Linux distribution, handles Docker containers, runs Home Assistant, streams video, and still has enough headroom for a local LLM at 4-bit quantization. The price increased significantly since the chip shortage of 2021–2022, but availability has normalized.
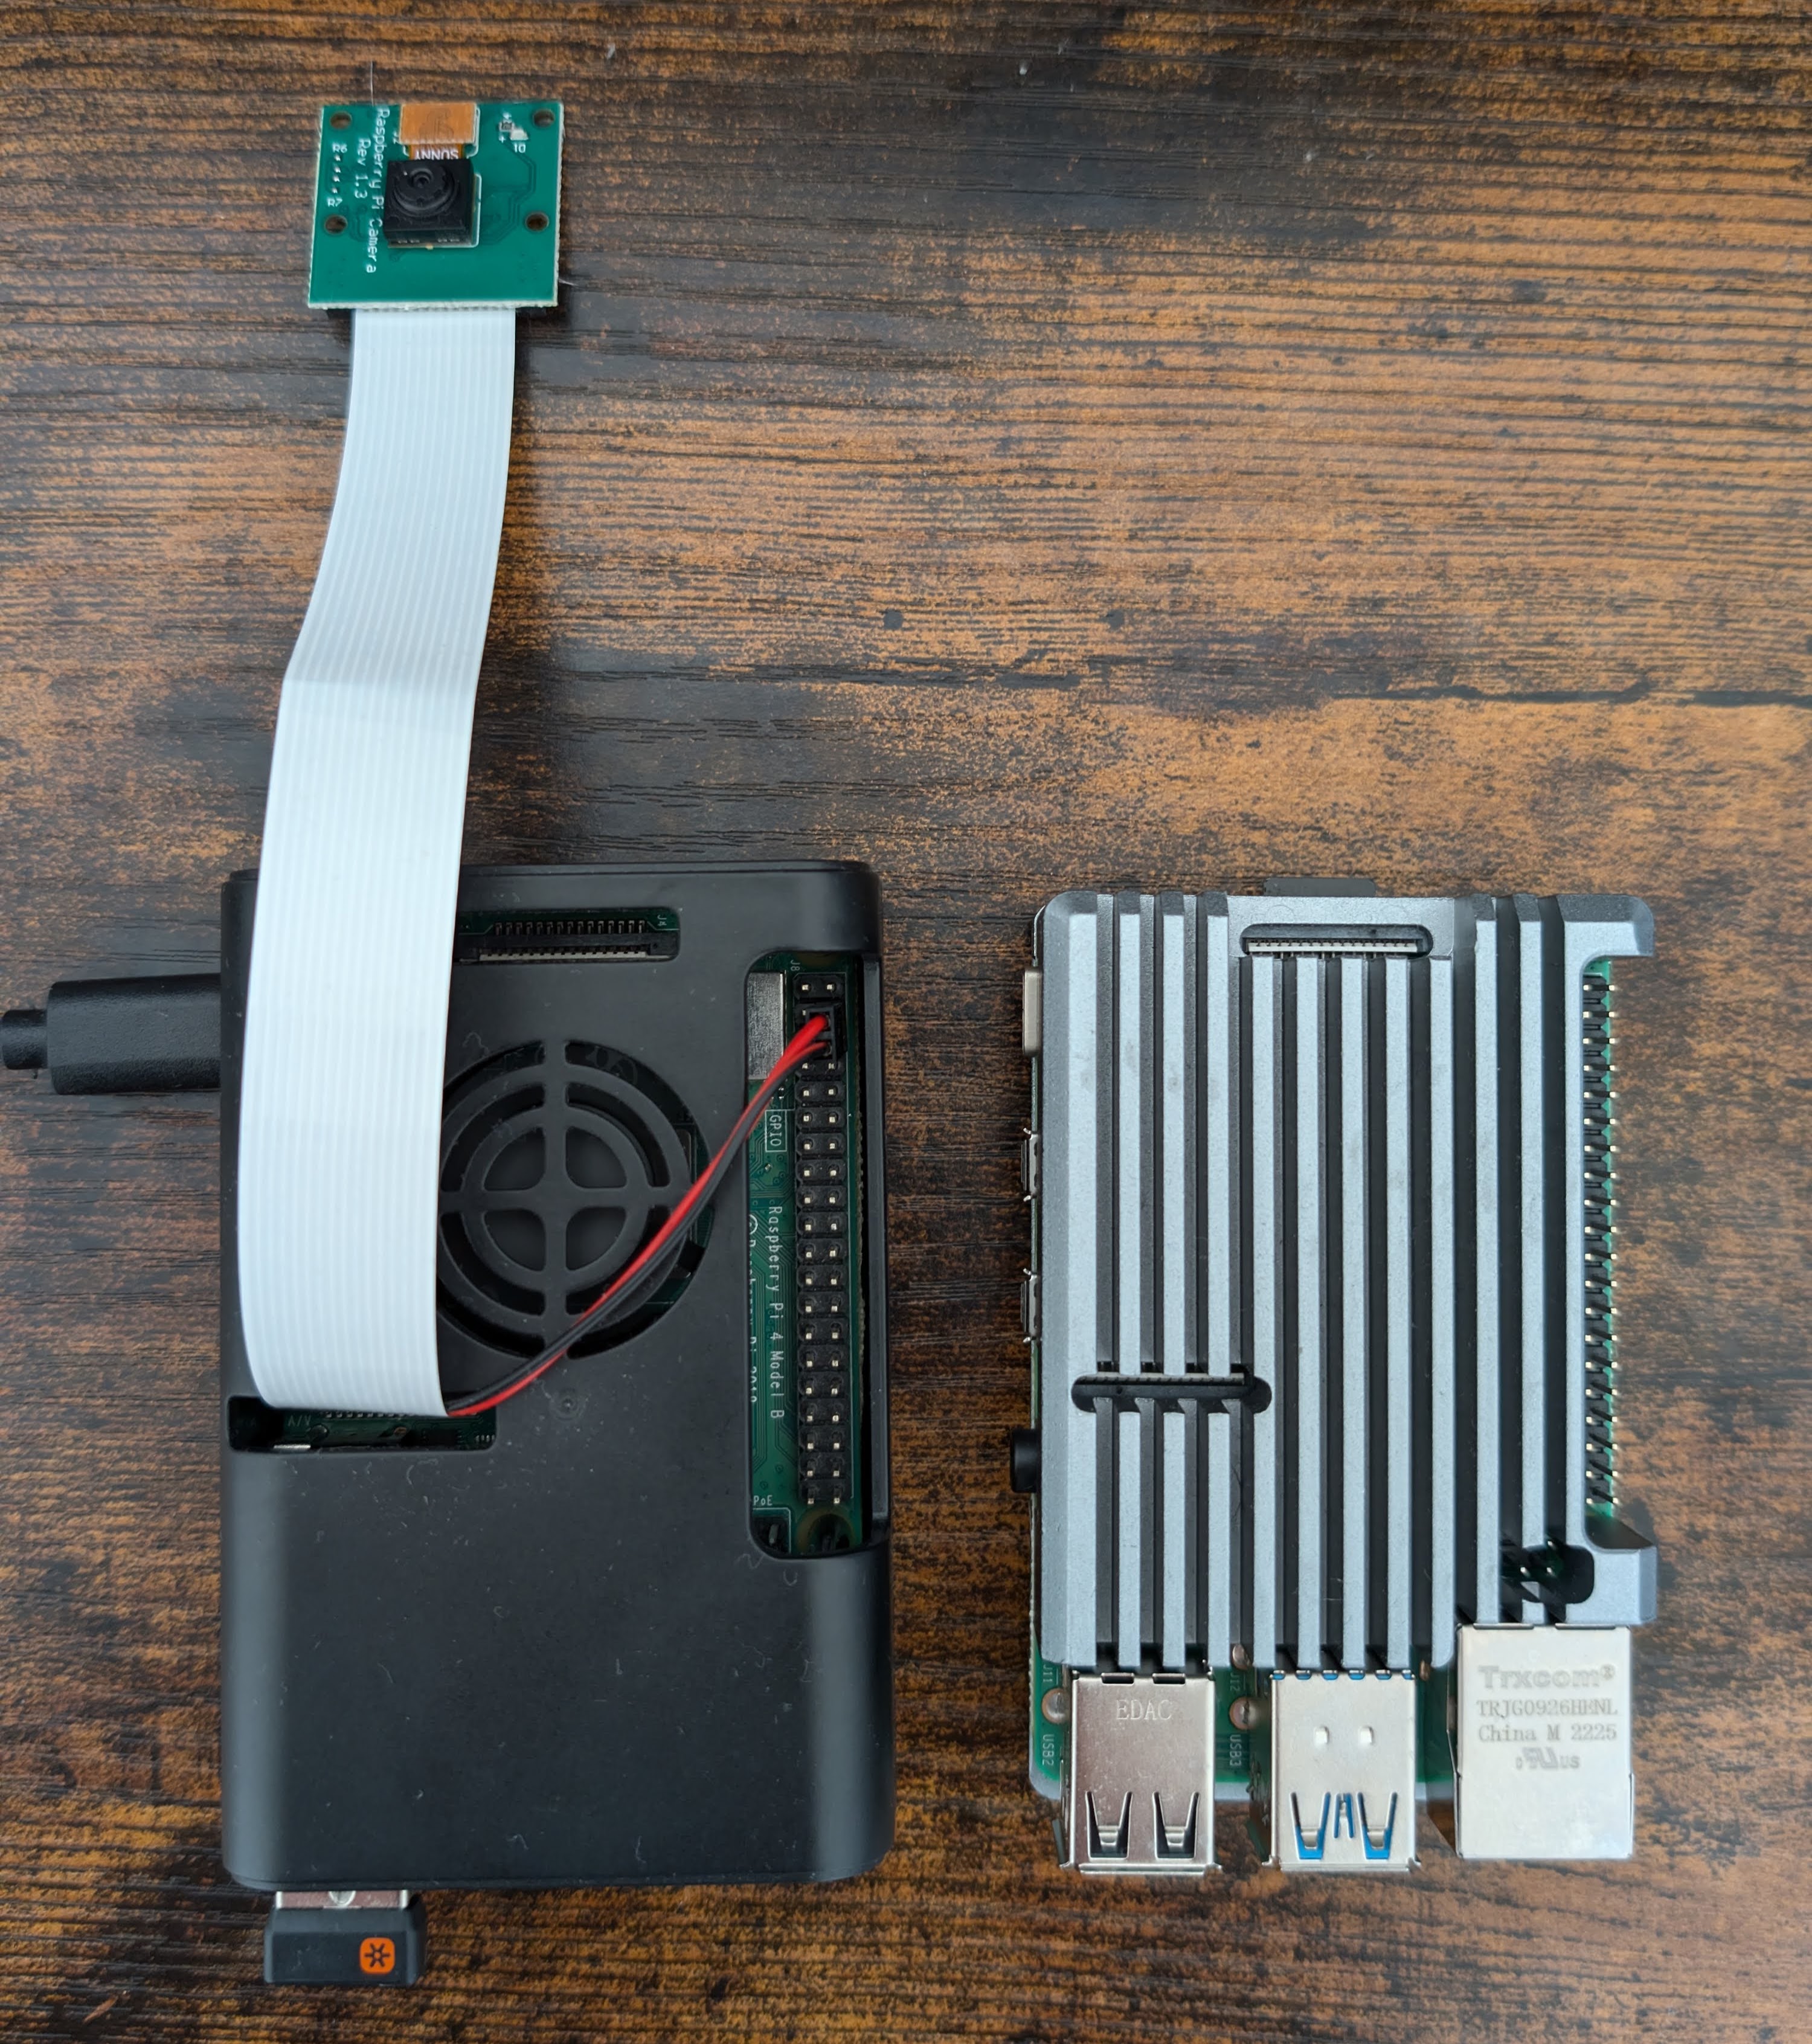
Raspberry Pi Zero 2 W is the lean option. Same ARM Cortex-A53 architecture as the Pi 4, but single-core, 512MB RAM, and a form factor small enough to embed in a sensor enclosure. Runs MQTT publishers, lightweight Python scripts, and basic camera functions without breaking a sweat.
Orange Pi boards offer similar specs at lower prices. The tradeoff is a smaller community and occasional driver headaches, particularly for GPIO and camera interfaces. For pure compute tasks (running a server, hosting a dashboard), they’re fine. For hardware-interfacing projects, budget extra time.
Cloud vs Pi: For workloads that run continuously and need reliability guarantees, a $6/month VPS beats a Pi that’s connected to a power strip in a garage. For workloads that need local network access, low latency, hardware GPIO, or offline operation, the Pi wins. Most IoT stacks eventually use both: Pis at the edge, a VPS or local server for aggregation and dashboards.
Setting It Up Right the First Time
The most time-consuming part of working with a Raspberry Pi is not the interesting part — it’s the setup. A checklist that prevents the most common weekend-wasters:
- Use Raspberry Pi OS Lite (no desktop) unless you specifically need a GUI. The desktop wastes memory and CPU for headless server work.
- Enable SSH before first boot by placing an empty file named
sshin the boot partition. - Set a static IP via your router’s DHCP reservation, not on the Pi itself. Easier to manage across multiple devices.
- Use
tmuxorscreenfor long-running sessions over SSH. Your shell dying mid-install doesn’t kill the process. - Set up
unattended-upgradesfor security patches. You will forget to manually update it. - Install Docker immediately. Almost everything in this ebook runs in a container. Keeping services containerized prevents dependency conflicts and makes rebuilding trivial.
The GitHub Pages Connection
The earliest IoT experiments often produce data that nobody sees. One pattern that works: deploy a simple static site on GitHub Pages that displays your sensor readings. A Raspberry Pi running a cron job that pushes sensor data to a JSON file in a git repo, combined with a static site that reads that JSON, gives you a public dashboard with zero server cost.
It’s not real-time. But it’s persistent, free, and forces you to think about data structure before you’re deep in a Grafana configuration.
Takeaway: Start with a Raspberry Pi 4 if you’re serious. Pi Zero 2 W for embedded sensor nodes. Add Docker on day one. Use a static IP via router DHCP reservation, not on the device.